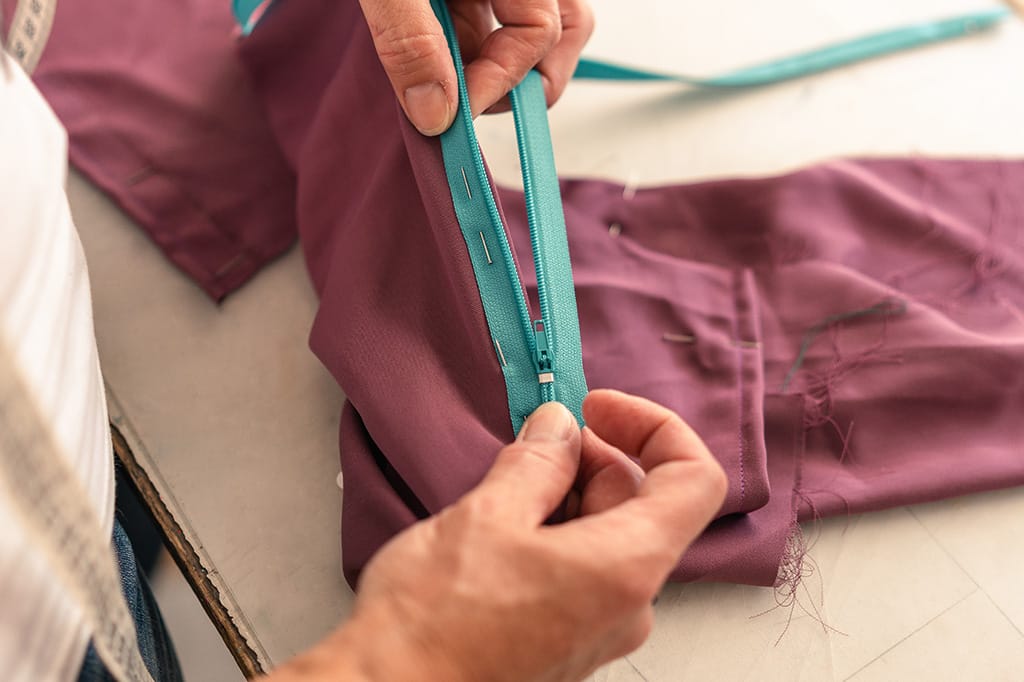
Keeping your favourite clothes in rotation longer is not just good for your wallet—it’s great for the planet too. Every piece of clothing you can repair rather than replace means less waste ending up in landfills and fewer resources used for new garments. In this guide, we’ll walk you through some simple DIY clothing repairs that anyone can do at home, ensuring that your wardrobe favourites remain wearable for years to come.
The Benefits of DIY Clothing Repairs
Before diving into the techniques, it’s worth noting why DIY repairs are so beneficial:
- Sustainability: Extending the life of your clothes reduces waste and the demand for new resources.
- Cost-Effective: Repairing clothes is often much cheaper than buying new ones.
- Personalisation: DIY repairs allow you to add unique touches to your garments, making them truly one-of-a-kind.
Essential Tools for DIY Clothing Repair
To get started, you’ll need a basic repair kit. Here’s what should be included:
- Sewing needles: A variety of sizes for different fabric types.
- Thread: In various colours to match your clothes.
- Scissors: Sharp ones for clean cuts.
- Seam ripper: To easily undo mistakes or remove old stitches.
- Measuring tape: For accuracy in fitting and cutting.
- Iron: Helpful for smoothing out fabrics before and after repairs.
- Pins or clips: To hold fabric in place while you work.
Simple DIY Repairs to Extend Your Wardrobe
1. Sewing a Button
Buttons tend to come off, especially on frequently worn items. Reattaching a button is simple:
- Step 1: Thread the needle and knot the end.
- Step 2: Start from the back of the fabric, pulling the needle through to the front where the button was.
- Step 3: Pass the needle through the holes in the button, then back down through the fabric.
- Step 4: Repeat several times for security, then tie off on the back.
2. Fixing a Hem
Loose hems are common but easy to fix:
- Step 1: Fold the hem to the desired length and iron flat.
- Step 2: Pin the hem in place to ensure it doesn’t move.
- Step 3: Use a simple whip stitch or a slip stitch to sew the hem discreetly. Match the thread to the fabric for a seamless look.
3. Patching Holes
Patching is perfect for jeans or any casual wear:
- Step 1: Choose fabric for the patch that either matches or contrasts with your garment for a stylish touch.
- Step 2: Cut the patch slightly larger than the hole.
- Step 3: Position the patch behind the hole and pin in place.
- Step 4: Sew around the edges of the patch using a zigzag stitch for strength.
4. Repairing Seams
Seams can split, but are one of the easiest repairs:
- Step 1: Turn the garment inside out to access the seam.
- Step 2: Pin the two edges of the seam together.
- Step 3: Sew along the original seam line, removing pins as you go.
- Step 4: Knot the thread securely and trim any excess.
Maintaining Your Repaired Clothes
After repairing your clothes, proper care is essential to keep them looking their best. Wash repaired items gently, avoid high heat in dryers, and store them correctly to prevent further damage.
DIY clothing repair is a rewarding skill that not only saves money but also contributes to a more sustainable lifestyle. By learning a few basic techniques, you can keep your favourite pieces alive much longer, reducing your environmental footprint one stitch at a time.

